


The Cross Knot looks good from the front and backside, but on this design, I prefer the look of the backside of the knot coupled with the backside of the Endless Falls Knot which makes a great looking bar.

You can view the tutorial by clicking this link.
You can download the full tutorial in PDF form by clicking this link.

A Wall Knot is tied almost like a Crown Knot, but instead of going over its neighbors loop, it goes under. It sounds more complicated than it actually is, so check out the tutorial for a better visual description.

I am labeling this knot as a prototype because I don't know how useful folks will find the design since it is wider than most lanyard knot designs. With your feedback I will determine if a tutorial should be made.
If you have noticed the scrolling marquee, I stated that
changes are coming to my blog. From this point forward, almost every knot
design that I post will be accompanied by a tutorial that will show how I tied
the knot. I will only be adding a
tutorial if the knot meets the following criteria:
- If there are no tutorials for the knot freely available online.- If the tutorial(s) that are available aren’t clear or I feel that I can add something to make it easier to tie the design.
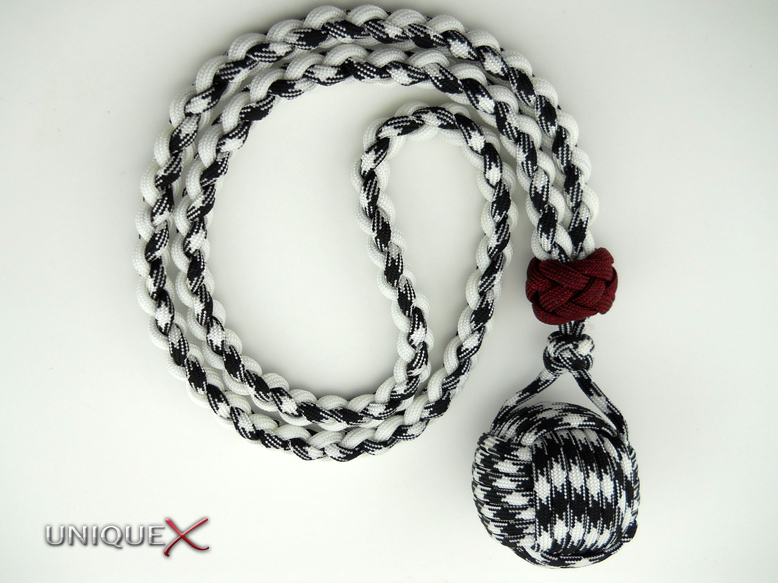
 I have been working on this post since receiving my new "Panda Camo" paracord from Supply Captain a couple of weeks ago. I wanted to publish the designs prior to Alabama winning the BCS National Championship, but once they won I’ve been celebrating and haven’t had time until now. For those who don’t understand why I am using this color paracord to tie Alabama-themed designs, I will explain. One of the greatest coaches in Alabama history often wore a houndstooth hat and I believe that this color is a great match for that design.
For those who don’t follow or care about football, I hope you will still find this post useful.


